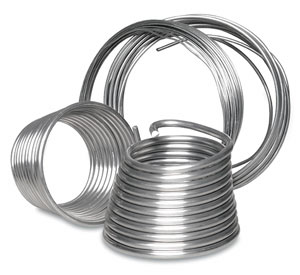
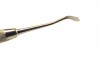
I think the pictures in this tutorial explain everything pretty well so just follow the images from left to right. Since my arms will be dangling at the side this method works pretty well.
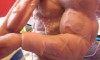
If you plan to pose the arm or add additional weight to it by placing something in the hand then you would want to build an armature that supports the arm better then what I have shown below.
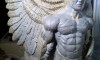
* This sculpture is created with Super Sculpey.